
Concrete-look Accent Wall With Plaster

8ft x 8ft Archi Concrete Accent Wall
There are many, many different types of plasters and looks they can produce. One type of plaster is called Archi+Concrete, and it actually has concrete particles in it so that it looks authentically concrete. Why would you use plaster instead of concrete? Weight, cost, and time. Plaster is a veneer that sits on the top of drywall. It doesn’t require reinforcing a wall to bear the weight of concrete, creating moulds, calling the truck out, and casting everything. (At least I think that would be the process.. I’ve never personally installed real concrete walls.) And although plaster is by no means cheap, at the end of the day it will cost less than casting real concrete walls.
If you are reading this and we’ve never met, I’m an artist trained in plaster. It took several years and I’m still learning. Please do not take this article as DIY instructions, and if you do, I take no responsibility for the outcome (cry laughing emoji).
Part of learning how to apply plaster in real life is practicing on big walls. It’s easy to make a sample board look good, but when you’re attacking real walls, you have to manage dry time of your layers and work to keep the application consistent. This concrete wall that I did a year ago was one of my practice applications. I framed out a wall, screwed in the drywall, sealed up the joint, and made sure my wall was smooth prior to plaster application.
Here are some pictures of the drywall process. After screwing in both 4x8’ drywall panels to the frame, I applied joint compound (“mud”) with a putty knife over the screw holes, then taped and mudded the middle seam. I let everything dry overnight, then sanded all mudded surfaces smooth before putting on a final layer of joint compound to fill in leftover gaps.


It was a project and a half for me to frame the wall and do the drywall… honestly sometimes I walk by the wall and I’m like “What the heck was I thinking?” hah! But it turned out pretty amazing.
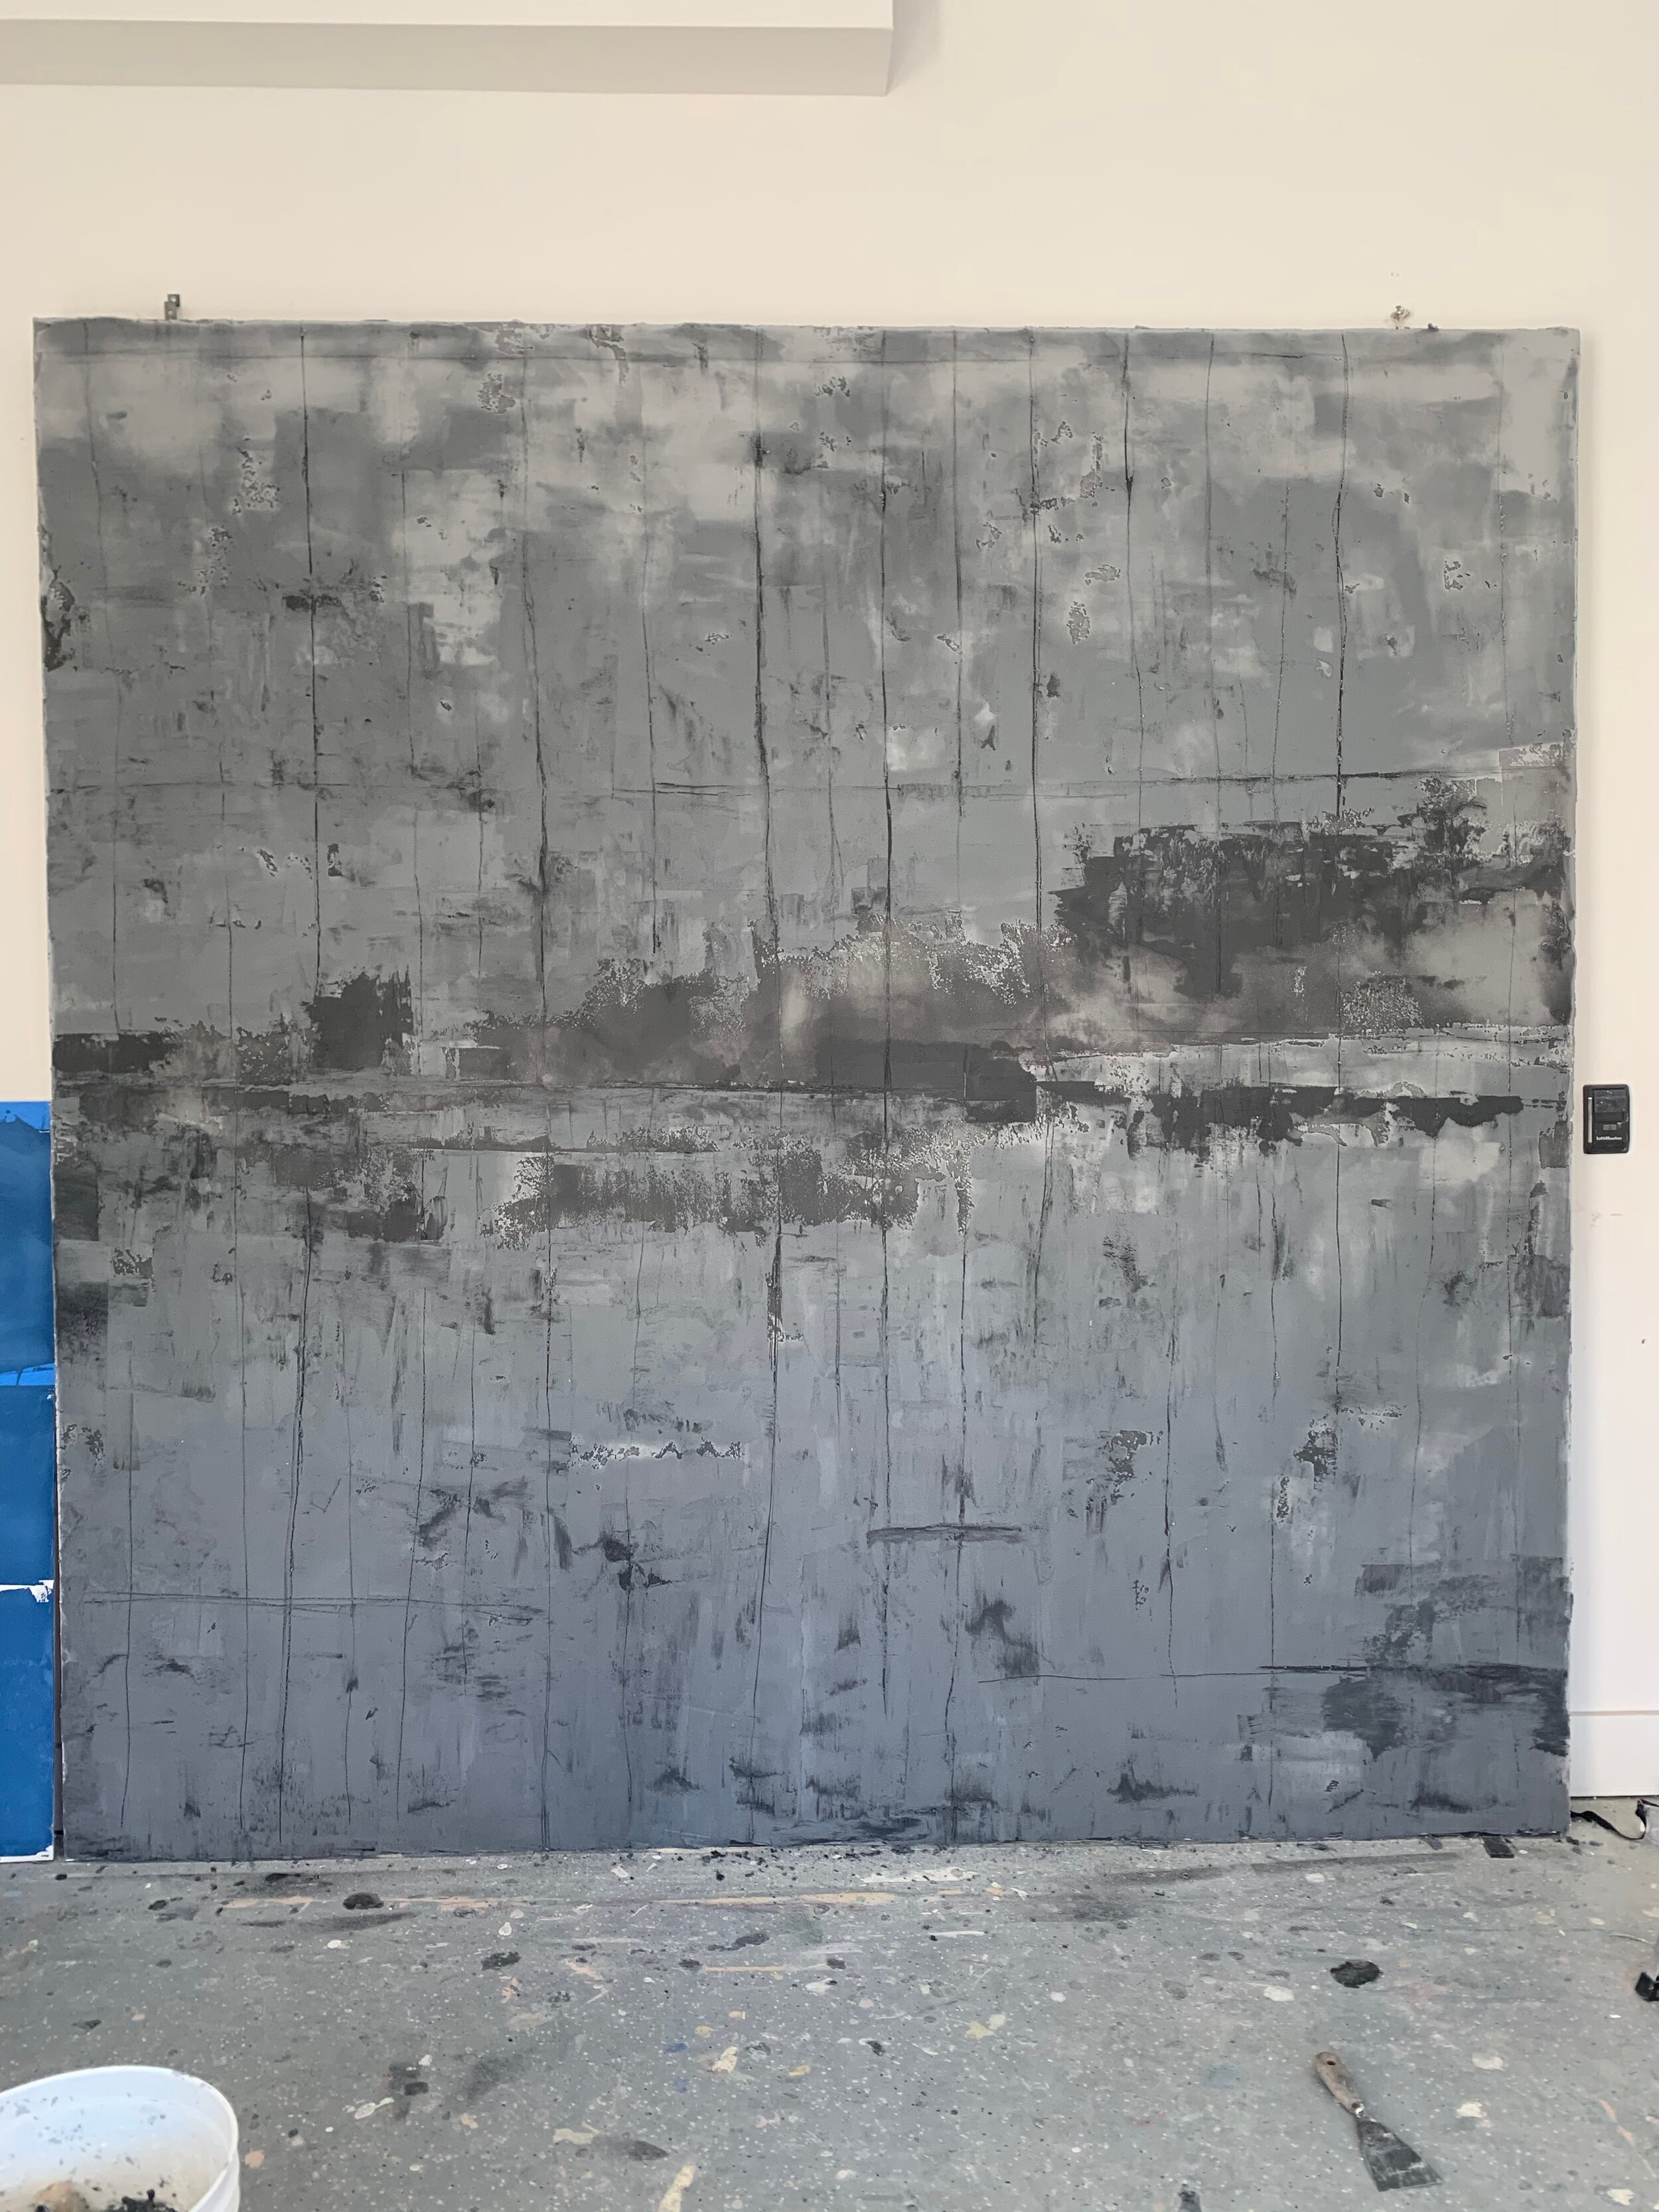
Now for the fun part - making the concrete finish! Archi+Concrete comes in a powder that you mix with water and tint. Mixing requires an electric mixing tool. I used a drill with a mixing stick attachment. I mixed two buckets of plaster, one light grey and one dark grey. Using a trowel, I applied the dark color as a base layer. I let it dry to where it was firm but still wet, then applied the light grey layer. I skipped over spots to create the dark pitted areas, then as everything was drying I experimented with carving vertical and horizontal lines.
Plaster Layer 1: The dark base coat

Plaster Layer 2: The lighter grey color
Note, plaster dries 50% lighter than it looks when wet (sometimes more). You can see how the first layer looked black when it was wet and dried to a mmid-tone grey.

Plaster drying after first 2 coats:
First 2 coats are dry:

Another round of layers here and there:

Then flooring install:

Complete!


Is this look for everyone? Of course not. It was my personal art wall. I used multiple techniques, and the nice thing about that is my clients can point to the areas on the wall that they like and don’t like to give me an idea of their preferences. When you’re in the room with this wall, it’s really something. I love it! Can’t wait to do another one!
Cheers!